Creating an Online Contact Update Form
Overview
- Contact information updates
- Intake updates
- Consent forms
- Assessments
- Release of liability forms

Step 1: Open the Case Portal
In Sumac Desktop, navigate to:
Case Management → Case PortalThe portal will open in your browser and automatically log you in.
Step 2: Access Online Forms
In the left navigation panel, click the Online Forms icon
(document icon)
Step 3: Start a New Form
Click New Form (top-right corner)
Select:
Start from scratch
 Tip
TipAvoid templates unless they match your form requirements exactly.
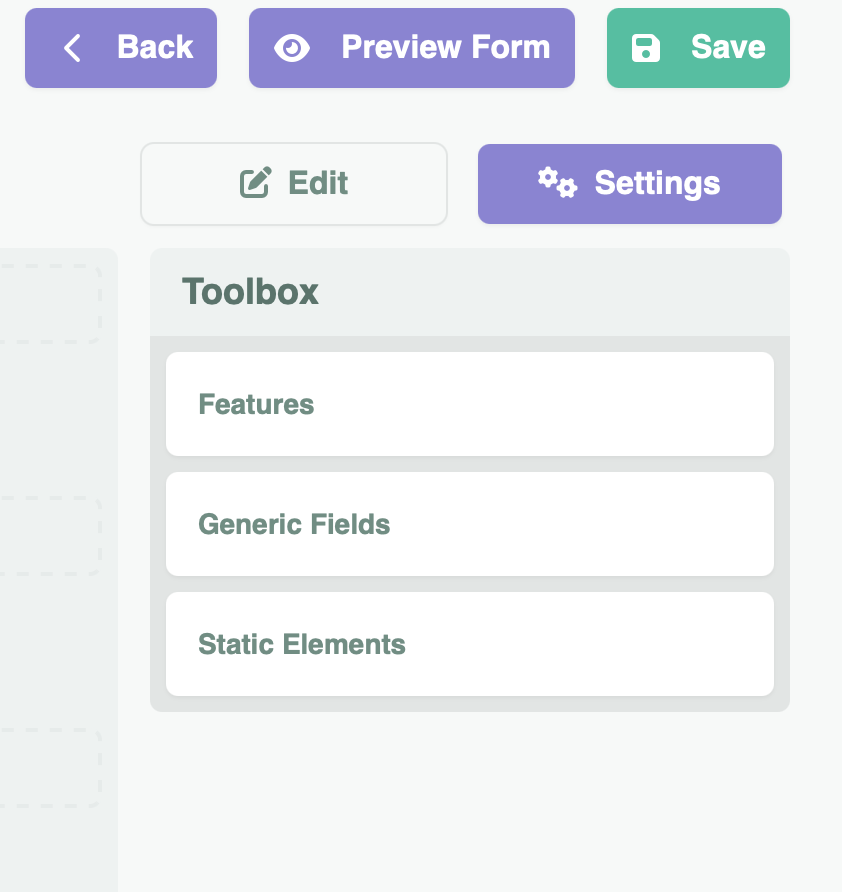
Step 4: Build the Form
The form builder toolbox appears on the right side.
Toolbox Sections
Features (Mapped Contact Fields)
Use Features to map form fields directly to existing contact record fields, such as:
Birthdate
Email
Address
Fields are grouped by Contact Record tabs:
Basic
Residence
Intake
Generic Fields (Custom Questions)
Use Generic Fields to add custom questions, such as:
Text input
Date fields
Checkboxes
Dropdown menus
Static Elements (Formatting Tools)
Use Static Elements to improve form readability:
Headers
Paragraph text
Links
Images
Dividers
Spacers
Headers
Paragraph text
Links
Images
Dividers
Spacers
Step 5: Add and Arrange Fields
Click the + icon to add a field
Drag and drop fields to reorder the form layout
Step 6: Configure Field Settings
For each field:
Click the gear icon ⚙️
Configure options such as:
Label / sublabel
Placeholder instructional text
Mandatory vs optional
Default values
Half-width or full-width display
 Important: Configure field settings before saving.
Unconfigured fields may cause the form save process to fail.Step 7: Preview the Form
- Click Preview Form to test how the form will appear to clients.
Step 8: Adjust Form Settings
In the Settings panel, you can:
Customize the thank-you confirmation message
Enable Save as PDF (recommended)
Add internal email notifiers for submissions
Adjust design colors if desired
Step 9: Save the Form
Once complete, click:
Save Form